Thinking about putting up new drywall on your ceilings? Maybe you're finishing a basement, adding an addition, or just want a fresh look upstairs. It's a big project, and getting it right means planning ahead. I've seen a lot of ceiling jobs over the years here in Billings, and I can tell you, the better you plan, the smoother it goes.
Setting Your Project Timeline
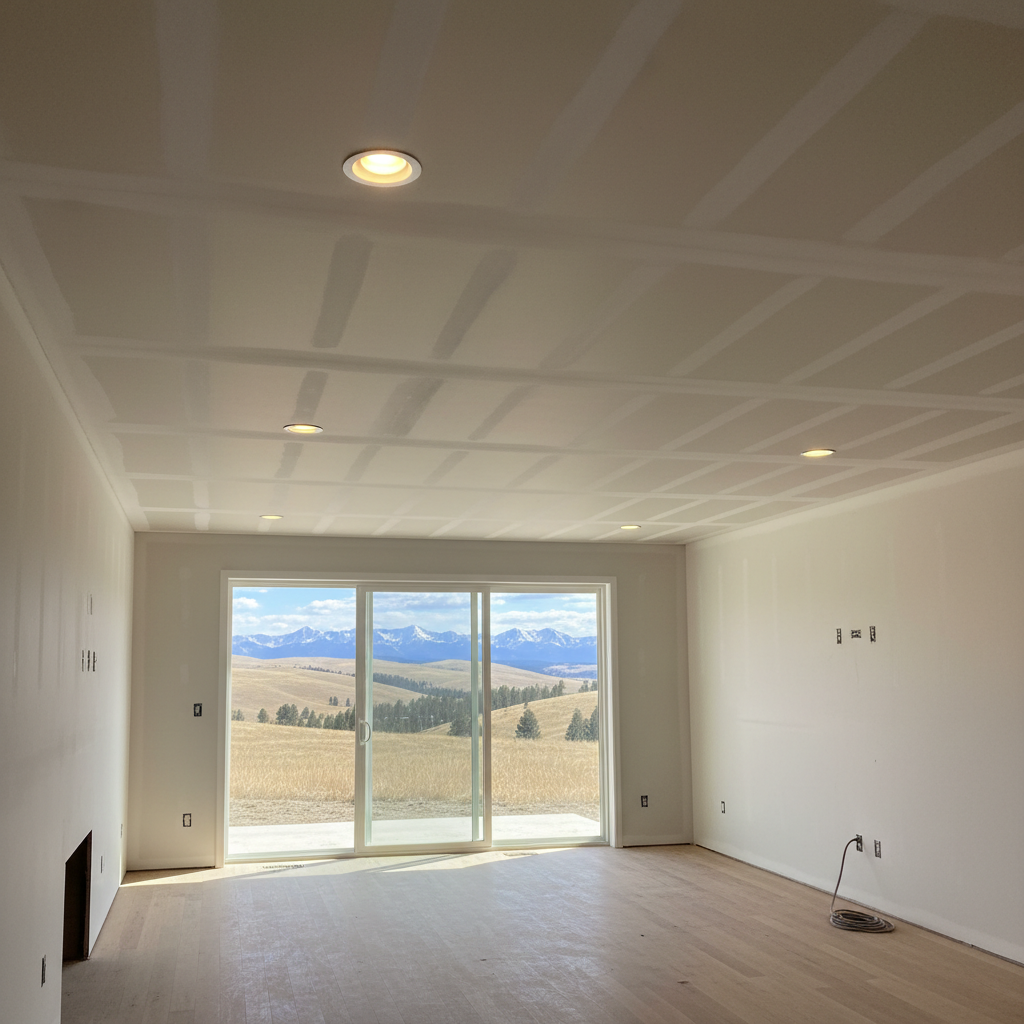
So, how long does ceiling drywall take? That's probably the first question on your mind, right? It's not a one-day job, even for a small room. Generally, for an average-sized room (like a 12x15 living room, for example), you're looking at a minimum of 3-5 days from start to finish. And that's if everything goes perfectly. For a whole house or a larger basement, it can stretch to a couple of weeks, sometimes more.
- Day 1-2: Hanging the Sheets. This is where the heavy lifting happens. Getting those big, heavy sheets of drywall up onto the ceiling, especially 5/8" fire-rated drywall that's often required, is tough work. It takes time to measure, cut, and screw them properly.
- Day 2-3: Taping and First Coat. Once the sheets are up, it's time to tape the seams and apply the first coat of mud. This step is crucial for a strong, smooth finish.
- Day 3-4: Second and Third Coats. Each coat needs time to dry completely. You can't rush this, especially with our dry Billings air, which can sometimes make mud dry faster than you'd expect, but still needs proper curing time between coats. Trying to sand or apply another coat too soon just leads to problems.
- Day 4-5: Sanding and Finish. This is where the magic happens, smoothing everything out. Then, it's ready for primer and paint.
Remember, this timeline doesn't include demo if you're taking old stuff down, or any unexpected issues. Always build in a little buffer.
What to Expect During the Process
When you have a crew in your home doing ceiling drywall, it's going to be a bit of a construction zone. Here's what you should prepare for:
- Dust, and lots of it. Even with dust-reducing methods, sanding drywall creates a fine, pervasive dust. We do our best to contain it, but it'll find its way into everything.
- Noise. Cutting drywall, screwing it into joists, and sanding can be noisy. If you work from home or have little ones, plan accordingly.
- Temperature changes. We often need good airflow for drying, so windows might be open, or fans running. This can affect your home's temperature.
- Material storage. Drywall sheets are big. We'll need space to store them before they go up, usually in the room itself or a nearby area.
- Limited access. For safety and efficiency, the work area will be restricted. You might not be able to use that room or even adjacent areas for a few days.
How to Prepare Your Home
Before any drywall crew, including us at Billings Drywall Company, shows up, you can do a lot to make the process easier and protect your belongings:
- Clear the room completely. Move out all furniture, decor, electronics, and anything else you don't want covered in dust or in the way. If it's too big to move, cover it with heavy-duty plastic sheeting and tape it securely.
- Remove wall hangings. Take down pictures, mirrors, curtains, and anything else from the walls, even if we're only working on the ceiling. Dust gets everywhere.
- Protect your floors. While we'll lay down drop cloths, if you have delicate flooring, consider adding extra protection like cardboard or rosin paper under the drop cloths.
- Turn off HVAC in the work area. This helps prevent dust from circulating through your entire ventilation system. We'll need it off during sanding.
- Secure pets and children. Keep them away from the work zone for their safety and to allow the crew to work efficiently.
Questions to Ask Before Signing a Contract
Before you commit to a contractor, make sure you're clear on everything. Don't be afraid to ask these questions:
- What specific type of drywall will you use? For ceilings, especially in garages or basements, 5/8" fire-rated drywall is often required by code. Make sure they're using the right stuff for your project.
- How will you protect my home from dust and debris? Ask about their containment methods: plastic barriers, floor protection, HVAC covers.
- What's their process for handling corners and transitions? Good contractors have specific techniques for crisp corners and smooth transitions to walls.
- What's included in the price? Does it cover materials, labor, cleanup, and disposal of old materials? Are primer and paint included, or is that a separate service?
- What's the payment schedule? A reputable contractor won't ask for 100% upfront. Expect a deposit, progress payments, and a final payment upon completion and your satisfaction.
- How do they handle unforeseen issues? What if we find water damage or electrical problems once the old ceiling is down? Understand their protocol for change orders.
- What's their warranty on labor? A good contractor stands behind their work. Ask about their guarantee on the finish and any potential issues like cracks.
By taking the time to plan and ask the right questions, you'll set yourself up for a much smoother ceiling drywall installation. It's a big investment, and you want it done right the first time. We're here to help if you're looking for a reliable crew in Billings.